Photo cleanup guide
How to convert HEIC to JPG on iPhone (free, built-in ways)
Convert HEIC to JPG on iPhone with the Files app, Shortcuts, or one Settings switch. Plus Mac, Windows, and iCloud.com—and why JPG will not free up storage.
By Pikondo team · Updated October 13, 2026
Short answer: the free built-in way is the Files app. Save the photo to Files, long-press it, tap Quick Actions → Convert Image, then pick JPEG. Files makes a new JPG next to the original. To make new photos JPG from the start, go to Settings → Camera → Formats and choose Most Compatible. JPG files are bigger than HEIC, so converting will not free up space. Pikondo does not convert HEIC or change Photos settings. It helps you review photo clutter on the device.
Short answer: 4 ways to get a JPG
- On iPhone: save to Files, then use Quick Actions → Convert Image → JPEG. Works on one photo or many.
- On iPhone, for future photos: Settings → Camera → Formats → Most Compatible. New shots save as JPEG.
- On a Mac: open the photo in Preview or Photos, choose File → Export, and pick JPEG.
- On a PC or any browser: download from iCloud.com with Most Compatible, or open the file in Windows Photos and save it as JPG.
What HEIC is (and why your iPhone uses it)
HEIC is the file type for HEIF photos. Apple made it the default on iPhone 7 and later. It keeps the same quality as JPEG in a smaller file, so it saves space on your phone and in iCloud.
The catch is support. Some Windows PCs, older apps, web forms, and print shops still want JPG. That is the main reason to convert. JPG and JPEG are the same format; only the name differs.
Convert HEIC to JPG on iPhone with the Files app
- Open Photos, select one or more photos, and tap Share.
- Tap Save to Files. Pick a folder, like On My iPhone or iCloud Drive, and tap Save.
- Open the Files app and go to that folder.
- Long-press a photo, tap Quick Actions, then tap Convert Image.
- Choose JPEG, then pick a size. Original keeps full resolution; Small, Medium, and Large shrink it.
- A new JPG appears in the same folder. The HEIC file stays as it was.
- For many files: tap the More button (•••), tap Select, pick the photos, tap More again in the bottom bar, and choose Convert Image.
Make new iPhone photos JPG instead of HEIC
- Open Settings and tap Camera.
- Tap Formats.
- Choose Most Compatible. New photos now save as JPEG and new videos as H.264.
- To go back to smaller files, choose High Efficiency.
Let your iPhone convert when you copy to a computer
When you import with a USB cable into Photos on a Mac, Image Capture, or a Windows PC, your iPhone can hand over JPG copies for you.
Open Settings → Apps → Photos (on older iOS, Settings → Photos). Under Transfer to Mac or PC, choose Automatic to get compatible files, or Keep Originals to keep HEIC. Full transfer steps: /blog/transfer-photos-iphone-to-pc.
Use Shortcuts for a one-tap converter
- Open the Shortcuts app and tap + to make a new shortcut.
- Add the Select Photos action. Turn on Select Multiple if you want batches.
- Add the Convert Image action and set the format to JPEG.
- Add Save to Photo Album, or Save File to put the JPGs in Files.
- Run it, pick your photos, and wait. Note: saving back to Photos adds new copies and uses more space.
Convert HEIC to JPG on a Mac
- Open the photo in Preview.
- Choose File → Export.
- Set Format to JPEG and move the Quality slider if you want a smaller file.
- Click Save.
- In the Photos app on Mac, select photos and choose File → Export → Export Photos. Set Photo Kind to JPEG.
- In Finder, you can also Control-click image files and choose Quick Actions → Convert Image.
Convert HEIC to JPG on Windows or the web
- iCloud.com: open Photos, select up to 1,000 items, tap More → More Download Options, and choose Most Compatible for JPEG. Unmodified Originals keeps HEIC.
- Windows Photos: open the HEIC file, then use the menu to Save as and pick .jpg. If Windows cannot open HEIC, install HEIF Image Extensions from the Microsoft Store.
- Online converters: they work, but you upload your photos to someone else's server. Skip them for private photos, IDs, and documents. Photos can also carry location data.
AirDrop, email, and quality
AirDrop to another iPhone or Mac usually keeps HEIC, since Apple devices read it fine. When you share by AirDrop, Messages, or email with a device that does not support HEIC, your iPhone may send a JPEG copy on its own.
Converting can lose a little quality each time, and smaller size choices cut resolution. Keep the original HEIC until you have checked the JPG looks right.
When converting helps (and when it does not free storage)
- Helps: uploading to a site that rejects HEIC, sending to a Windows user, printing, or using older photo apps.
- Does not help storage: a JPG is usually bigger than the same HEIC. Converted copies saved to Photos or Files add space.
- Most Compatible makes every new photo larger. Only switch if sharing problems are common for you.
- To get space back, delete clutter instead: screenshots, duplicates, and blurry shots. See /blog/free-up-iphone-storage.
- Need a smaller file to send? Use a smaller size when you share. See /blog/compress-photos-iphone.
How Pikondo fits (and where it stops)
Pikondo does not convert HEIC to JPG, batch-export photos in other formats, or change Camera or Photos settings.
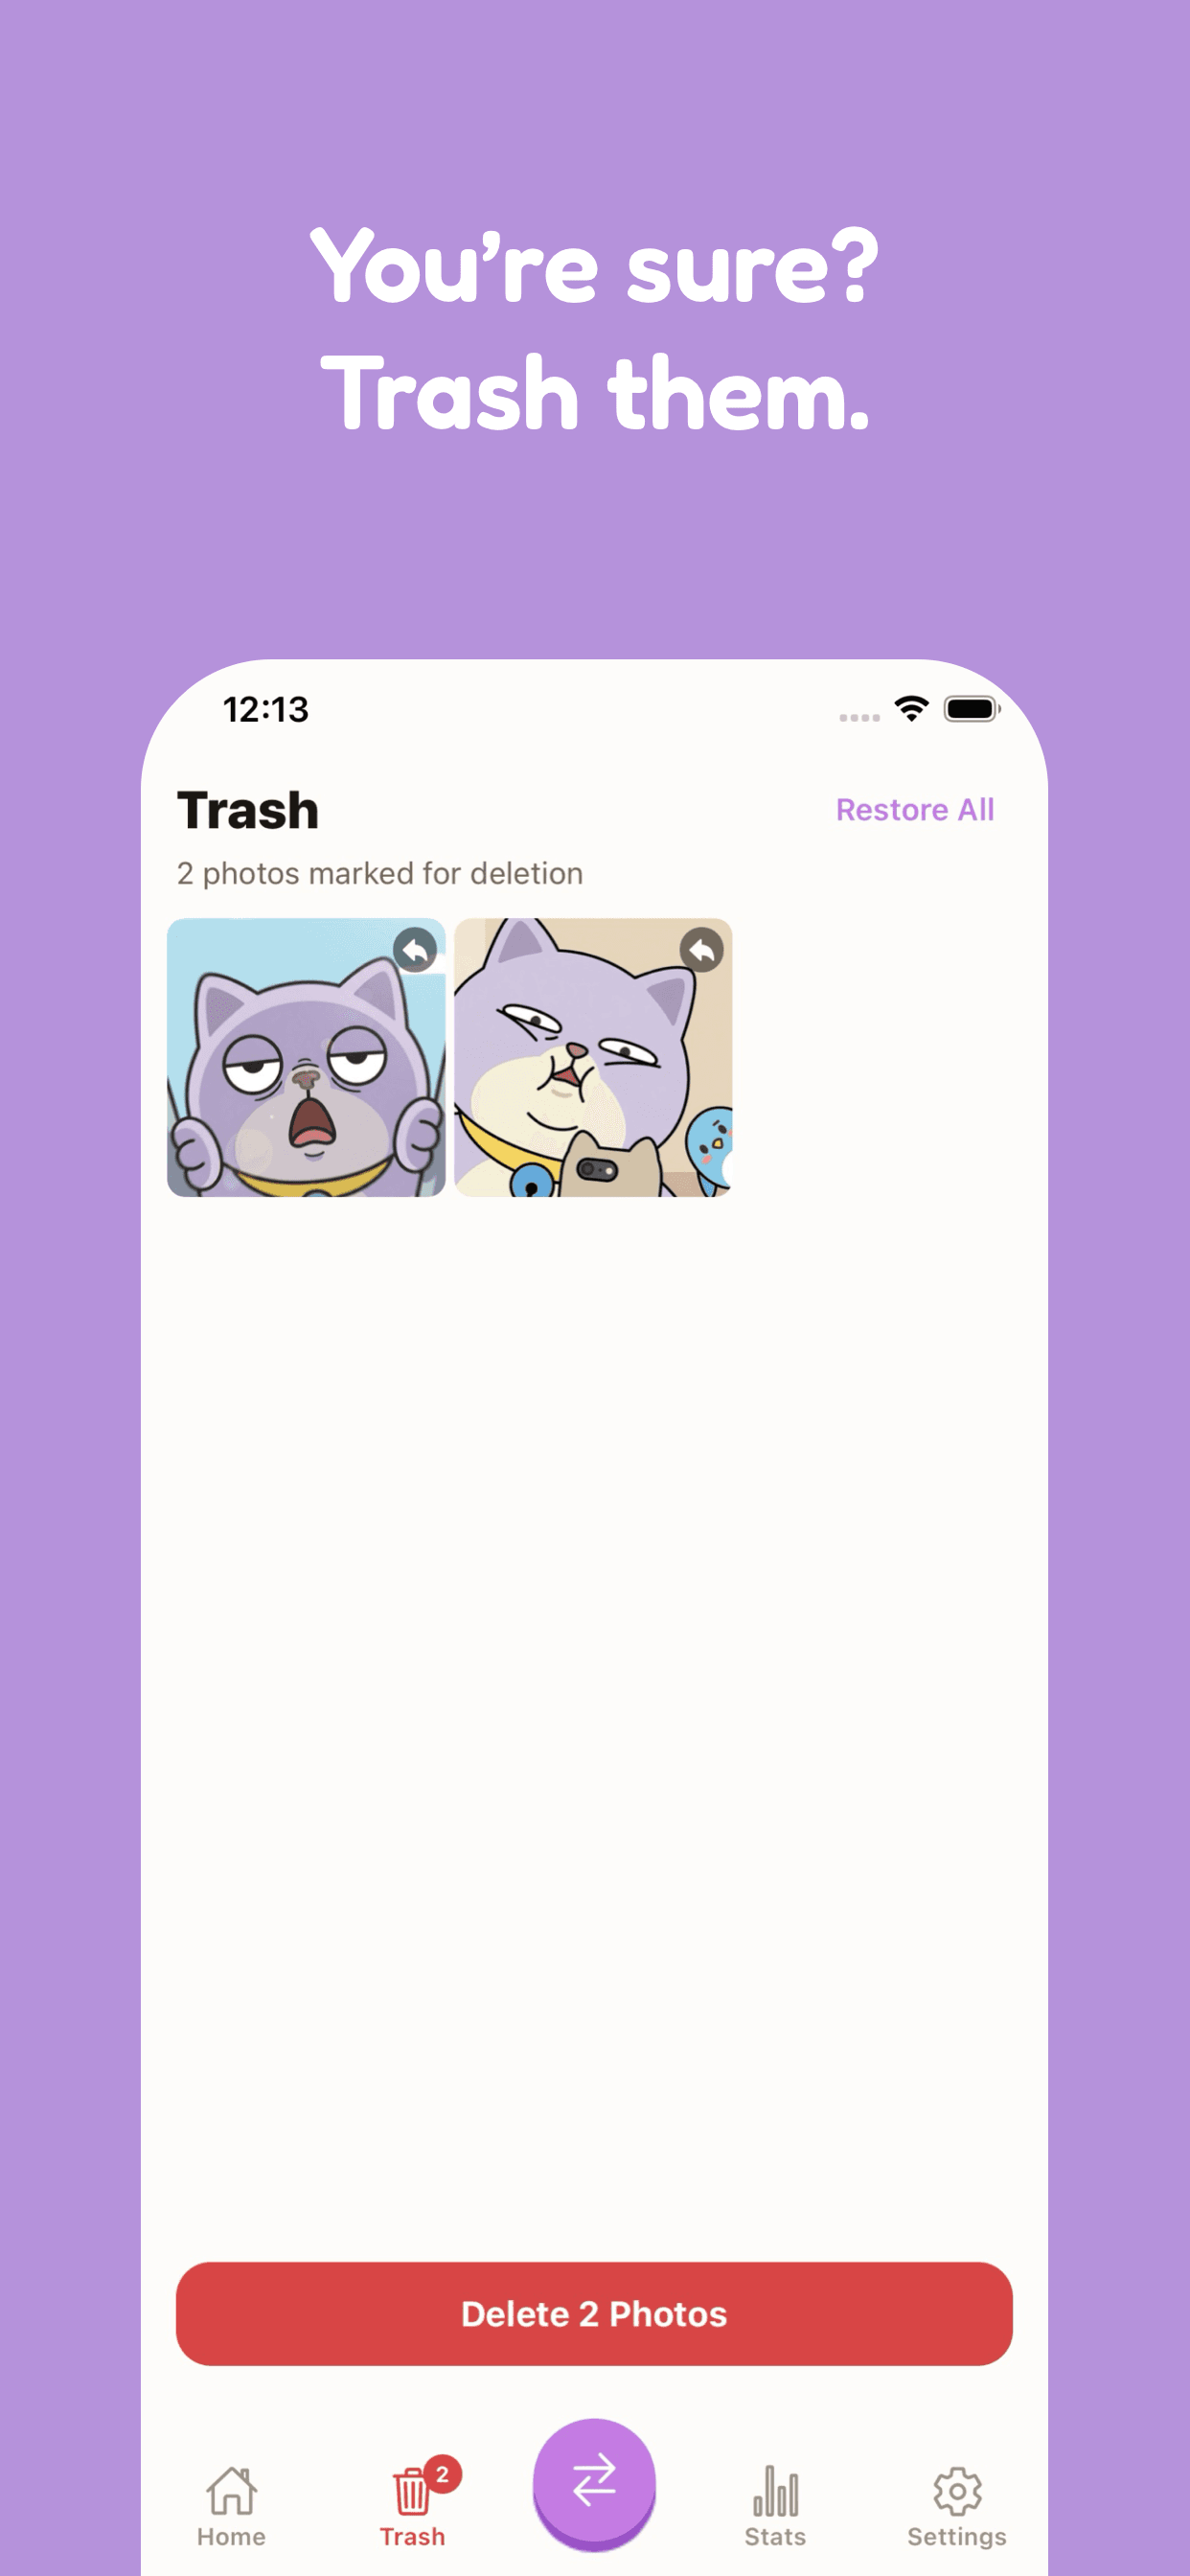
It is an on-device photo cleaner. It helps you review clutter: duplicates and similar shots, screenshots, and blurry photos. Swipe to keep or mark, check the marked list, then confirm. Deletes go through your Photos library and follow the same Recently Deleted and iCloud rules as the Photos app.
Related guides
For more on photo files and storage, see compressing or sharing smaller copies at /blog/compress-photos-iphone, transferring photos to a PC at /blog/transfer-photos-iphone-to-pc, freeing iPhone storage at /blog/free-up-iphone-storage, deleting photos at /blog/how-to-delete-photos-iphone, and organizing keepers at /blog/organize-photos-iphone.
The key point
Use the Files app's Convert Image to turn HEIC into JPG on your iPhone, or Most Compatible for new photos. On a computer, export from Preview or Photos, or download Most Compatible from iCloud.com. Convert only when you need JPG for sharing. It will not free up space.
Frequently asked questions
- How do I convert HEIC to JPG on iPhone for free?
- Save the photo to the Files app from the Share menu. In Files, long-press it, tap Quick Actions → Convert Image, and choose JPEG. A new JPG appears in the same folder and the original stays.
- How do I make my iPhone take JPG instead of HEIC?
- Open Settings → Camera → Formats and choose Most Compatible. New photos save as JPEG. Older photos stay HEIC until you convert them.
- Can I convert many HEIC photos to JPG at once on iPhone?
- Yes. Save them to a folder in Files, tap More (•••) → Select, pick the files, tap More in the bottom bar, and choose Convert Image → JPEG. A Shortcuts shortcut with the Convert Image action also works.
- Does converting HEIC to JPG lose quality?
- A little, and more if you pick a smaller size. Choose Original size for full resolution, and keep the HEIC until you check the JPG.
- Will converting HEIC to JPG free up iPhone storage?
- No. JPG files are usually bigger than HEIC, and converted copies add new files. To free space, delete screenshots, duplicates, and blurry shots, then empty Recently Deleted.
- How do I get JPG files when I copy iPhone photos to a PC?
- Open Settings → Apps → Photos (Settings → Photos on older iOS) and set Transfer to Mac or PC to Automatic. Or download from iCloud.com with Most Compatible.
- Does Pikondo convert HEIC to JPG?
- No. Pikondo does not convert formats or change Photos settings. It helps you review and delete photo clutter on your iPhone.